0
Skip to Content
Home
About
Our Story
About Amy
Gallery
Services
Our Pricing
Contact
Open Menu
Close Menu
Home
About
Our Story
About Amy
Gallery
Services
Our Pricing
Contact
Open Menu
Close Menu
Home
Folder:
About
Back
Our Story
About Amy
Gallery
Services
Our Pricing
Contact
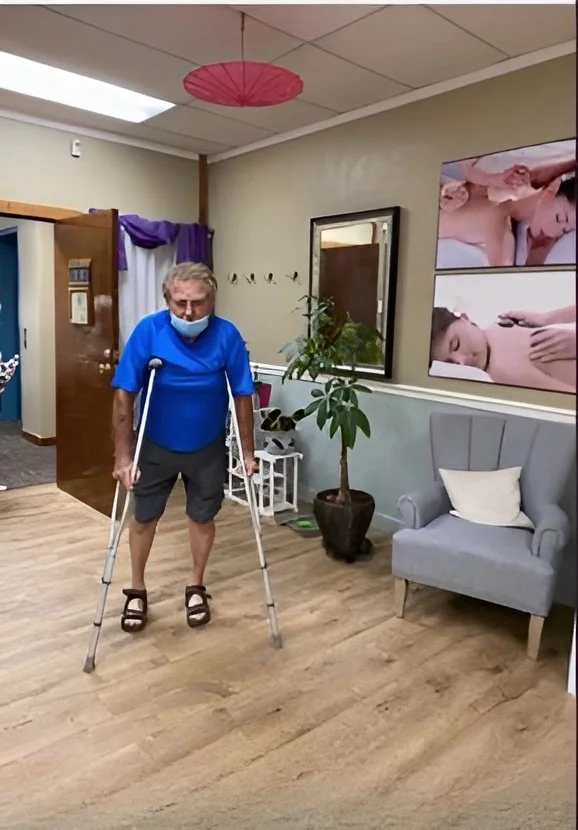
Experience the changes through our lens
gallery
before
After